Deploy Webiny

In this lesson, we will guide you through the process of deploying your Webiny instance to AWS and accessing the admin panel for the first time. By the end of this lesson, you'll have a fully functional Webiny instance running in the cloud, ready for you to start building and managing content.
In this lesson...
Here are the topics we'll cover
Steps to deploy Webiny to AWS.
Accessing the Webiny admin panel.
Initial configuration of your Webiny instance.
Deploying Webiny to AWS
Now that you have your Webiny project set up locally, it's time to deploy it to AWS. To do this, navigate to your project directory in the terminal and run the following command:
This command will deploy your Webiny instance to AWS in the dev environment. The deployment process may take a few minutes, as it involves setting up various AWS services and resources. Once the deployment is complete, you will see a success message in the terminal along with the URL to access your Webiny admin panel and finalize the setup in your browser.
The deployment time can vary depending on your internet connection and AWS service availability. Typically, it takes around 5-15 minutes. Please be patient and avoid interrupting the process. Deploying for the first time may take longer as AWS provisions all necessary resources. Subsequent deployments will be much faster.
Accessing the Webiny Admin Panel
Once the deployment is complete, you can access the Webiny admin panel using the URL provided in the terminal output. Open your web browser and navigate to that URL. You should see the Webiny admin login page. Since this is your first time accessing the admin panel, you will need to create an admin user account.
If you missed the URL in the terminal output, you can find it by running the following command in your project directory:
yarn webiny info
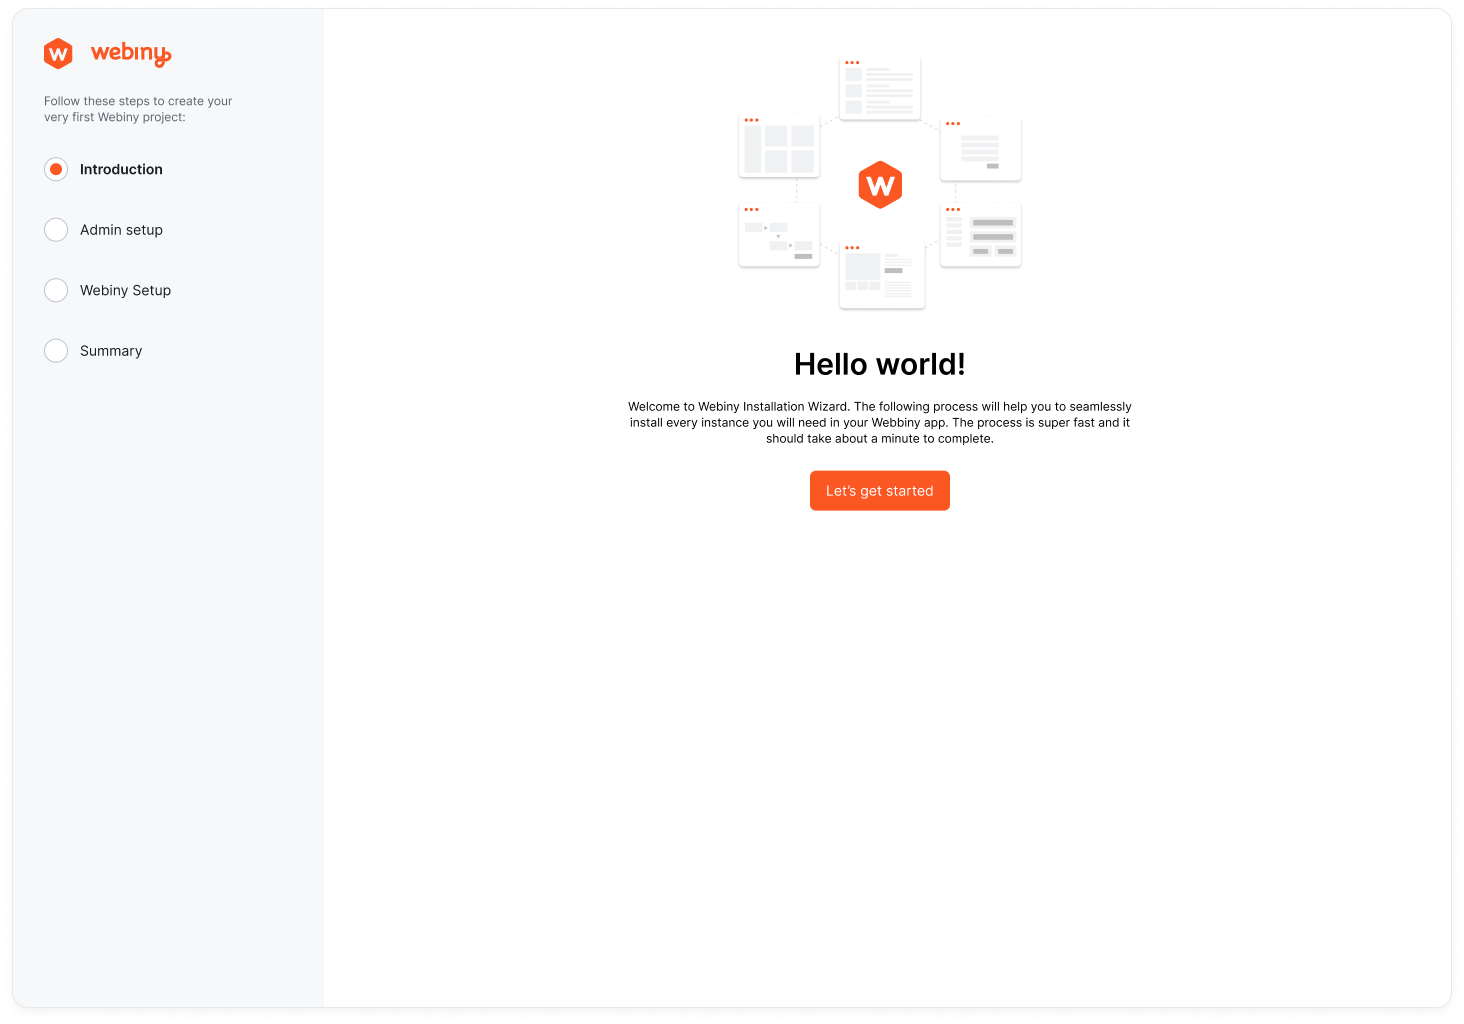
Fill in the required details to create your admin user account, including your name, email address, and password. After completing the form, click on the "Create Account" button to finalize the setup.
Once the installation wizard is complete, you will be redirected to the Webiny admin dashboard. Congratulations! You have successfully deployed Webiny to AWS and accessed the admin panel for the first time.
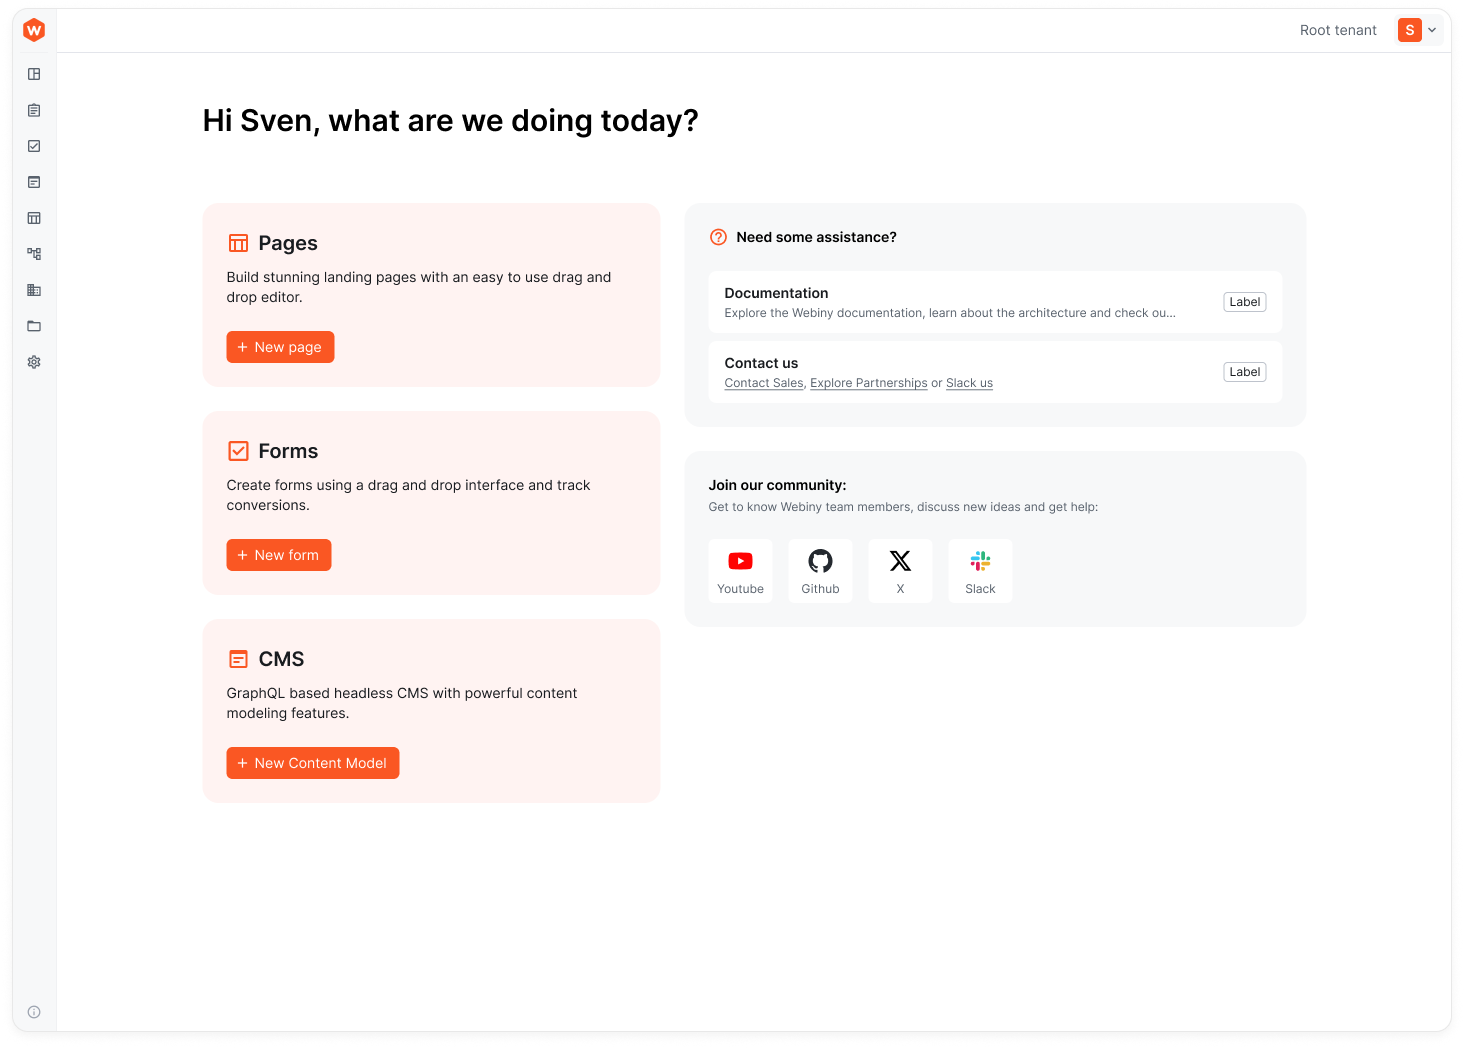
At this point we have a Webiny Community edition instance deployed and ready to use.
The next lesson is an optional one - in case you wish to upgrade your Webiny instance to the Business tier and unlock additional features and capabilities, you can follow along. If you wish to continue using the Community edition, you can skip the next lesson and proceed to exploring Webiny's features in the subsequent lessons.