Creating a Content Model via Code
In the previous lesson, you created a Product model through the Admin UI. While the visual builder is great for quick modeling, sometimes you need to create models programmatically - especially when setting up projects, managing multiple environments, or when models are part of your codebase.
In this lesson, we'll create a Product Category model via code and link it to the Product model using a reference field.
In this lesson...
Here are the topics we'll cover
Creating models programmatically with extensions.
Linking models with reference fields.
Deploying and testing your changes.
Why Create Models via Code?
Creating content models via code offers several advantages:
- Version control - Your models are in Git, tracked alongside your code
- Reproducibility - Easy to recreate models across environments (dev, staging, prod)
- Automation - Can be part of CI/CD pipelines
- Team collaboration - Code reviews for model changes
- Documentation - Models are self-documented in code
Both approaches are valid! Use the UI for quick prototyping and non-technical team members. Use code for production setups, version control, and when models are part of your infrastructure.
The Product Category Model
We'll create a simple Product Category model with these fields:
- Name (Text) - Category name (e.g., "Electronics", "Clothing")
- Slug (Text) - URL-friendly identifier
- Description (Long Text) - Category description
Then we'll add a Category reference field to the Product model, creating a relationship between products and categories.
Creating the Extension
Content models are created using API extensions. Let's create one:
Step 1: Create the Extension File
Create a new file extensions/ProductCategoryModel.ts in your project.
Step 2: Write the Model Definition
Open extensions/ProductCategoryModel.ts and add the following code:
Let's break down what this code does:
Model Builder Pattern:
- Uses the
ModelFactorypattern for creating content models programmatically ModelFactory.Interface- Interface for creating model implementationsModelFactory.Builder- Fluent API for building content modelsModelFactory.createImplementation()- Creates the model implementation with dependencies
Model Configuration:
.public()- Makes this a public content model (accessible via Read API).modelId()- Internal identifier (used in the database).name()- Display name in the Admin UI.description()- Model description.group()- Organizes the model in the sidebar ("ungrouped" keeps it in the default group).singularApiName()and.pluralApiName()- GraphQL query names
Field Definitions:
The .fields() method uses a fluent API to define fields:
fields.text()- Creates a text fieldfields.longText()- Creates a long text field.renderer()- Specifies the UI renderer for the field.label()- Display name for the field.helpText()- Helper text shown in the editor.required()- Makes field required with custom error message.minLength()/.maxLength()- Validation constraints.unique()- Ensures field values are unique.pattern()- Regular expression validation
Layout:
.layout()- Defines how fields are arranged in rows in the Admin UI- Example:
[["name", "slug"], ["description"]]creates two rows
Title Field:
.titleFieldId()- Which field to use as the entry title (in this case, "name")
The Model Builder provides fluent methods for all field types: text(), longText(),
richText(), number(), boolean(), datetime(), file(), ref() (reference), object(),
and more. Each method returns a chainable API for configuring the field.
Step 3: Register the Extension
Now we need to register this extension in webiny.config.tsx:
That's it! The extension is now part of your project. When you deploy, Webiny will automatically create the content model and generate the GraphQL API.
Deploy or Test Your Changes
To make the Product Category model available, you have two options:
Option 1: Deploy the API
Option 2: Use Watch Mode (Faster for Development)
If you're using watch mode, the changes will be automatically deployed and visible in the Admin UI when you refresh. You can access the Admin either locally (via yarn webiny watch admin) or through your deployed Admin app (CloudFront URL).
Watch mode is ideal during development as it automatically redeploys your API changes without manual deployment. Since we're only changing backend API code with these extensions, your Admin app (whether local or deployed) will pick up the changes after a refresh.
Verify the Model
After deployment completes:
- Open your Webiny Admin application
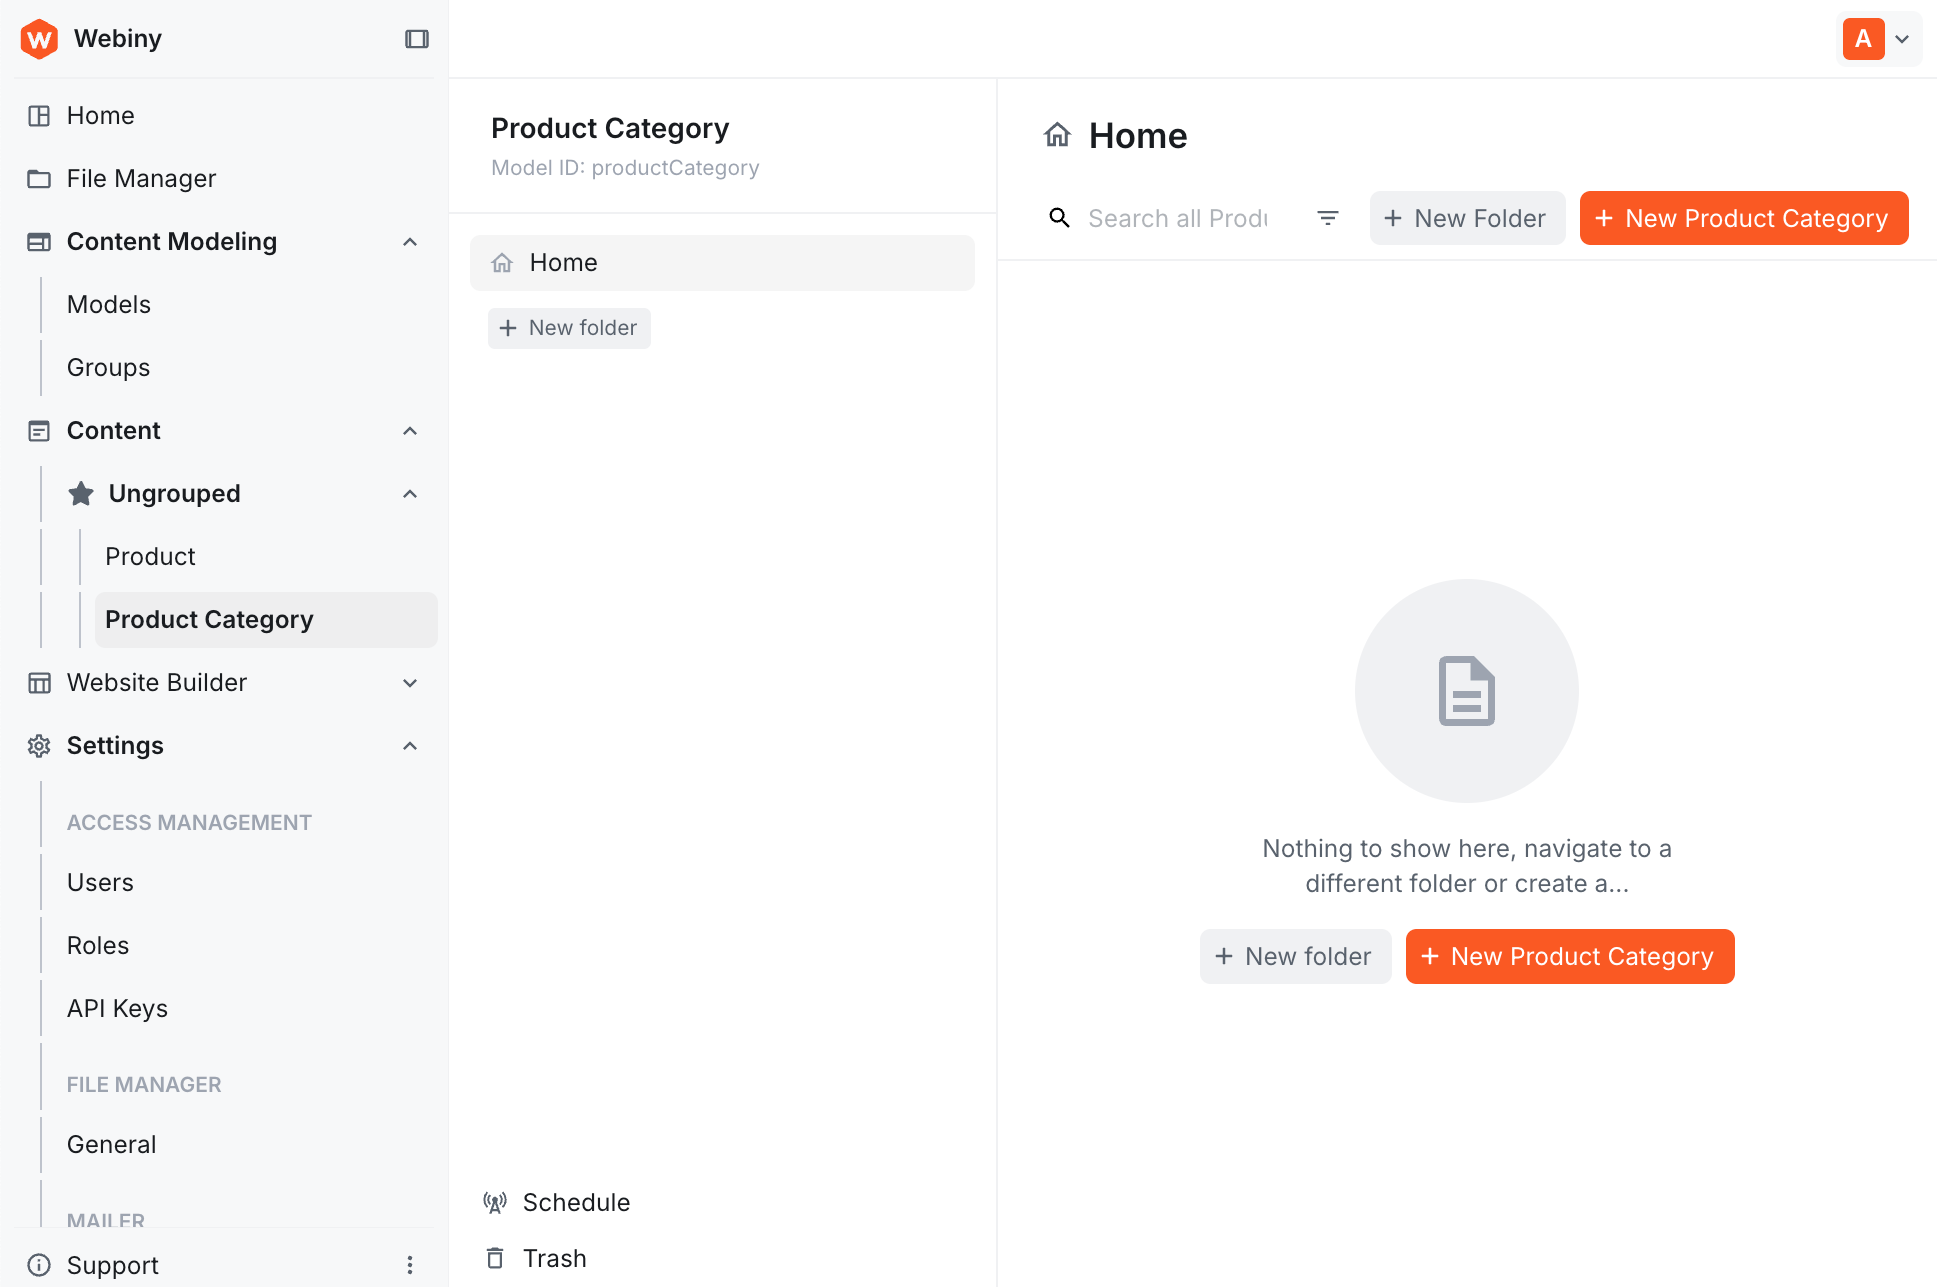
- Navigate to Content in the main menu
- You should see Product Category listed (in the Ungrouped section)
Try creating a category:
- Name: "Electronics"
- Slug: "electronics"
- Description: "Electronic devices and accessories"
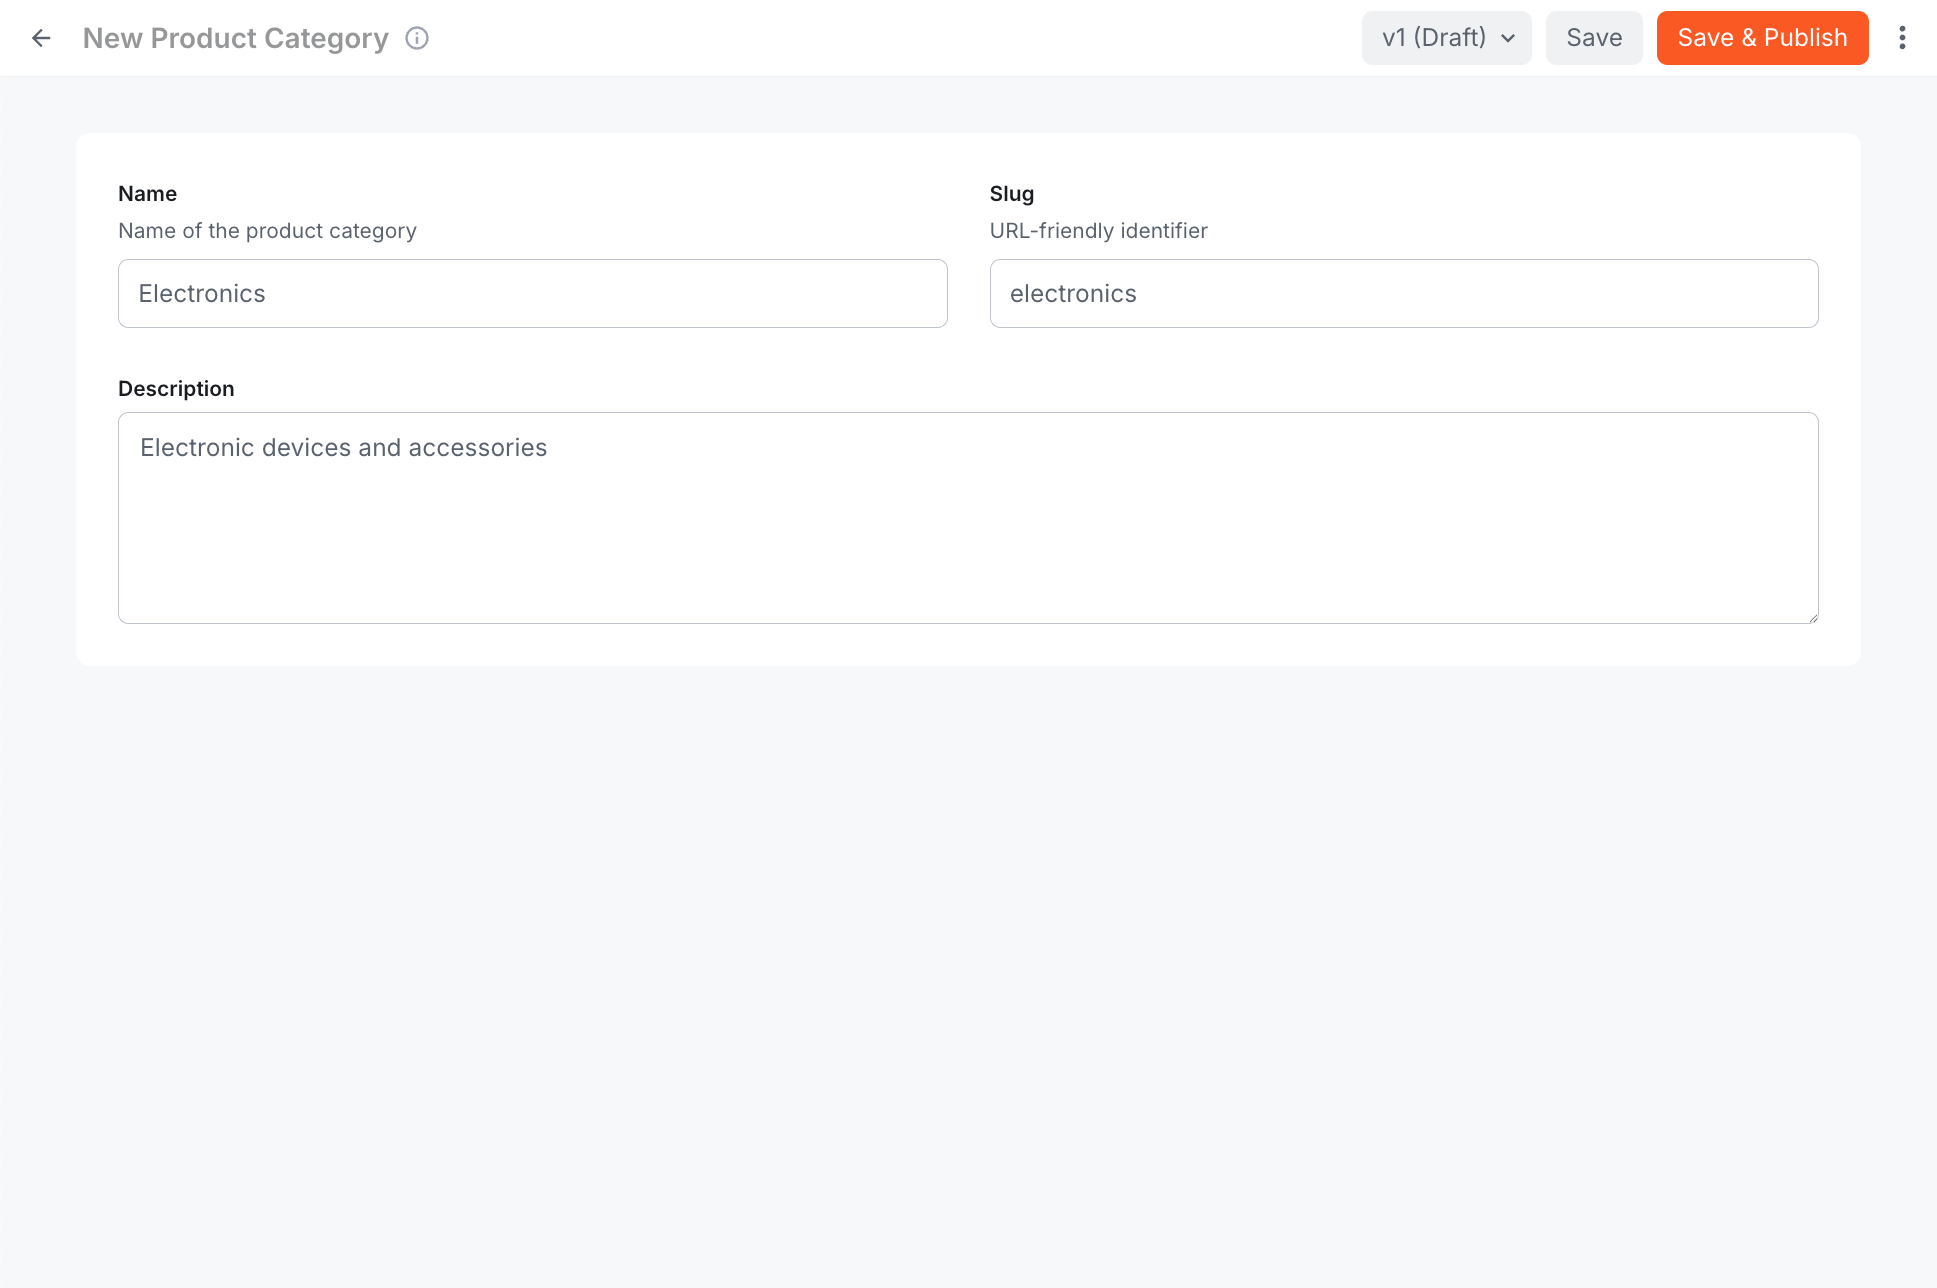
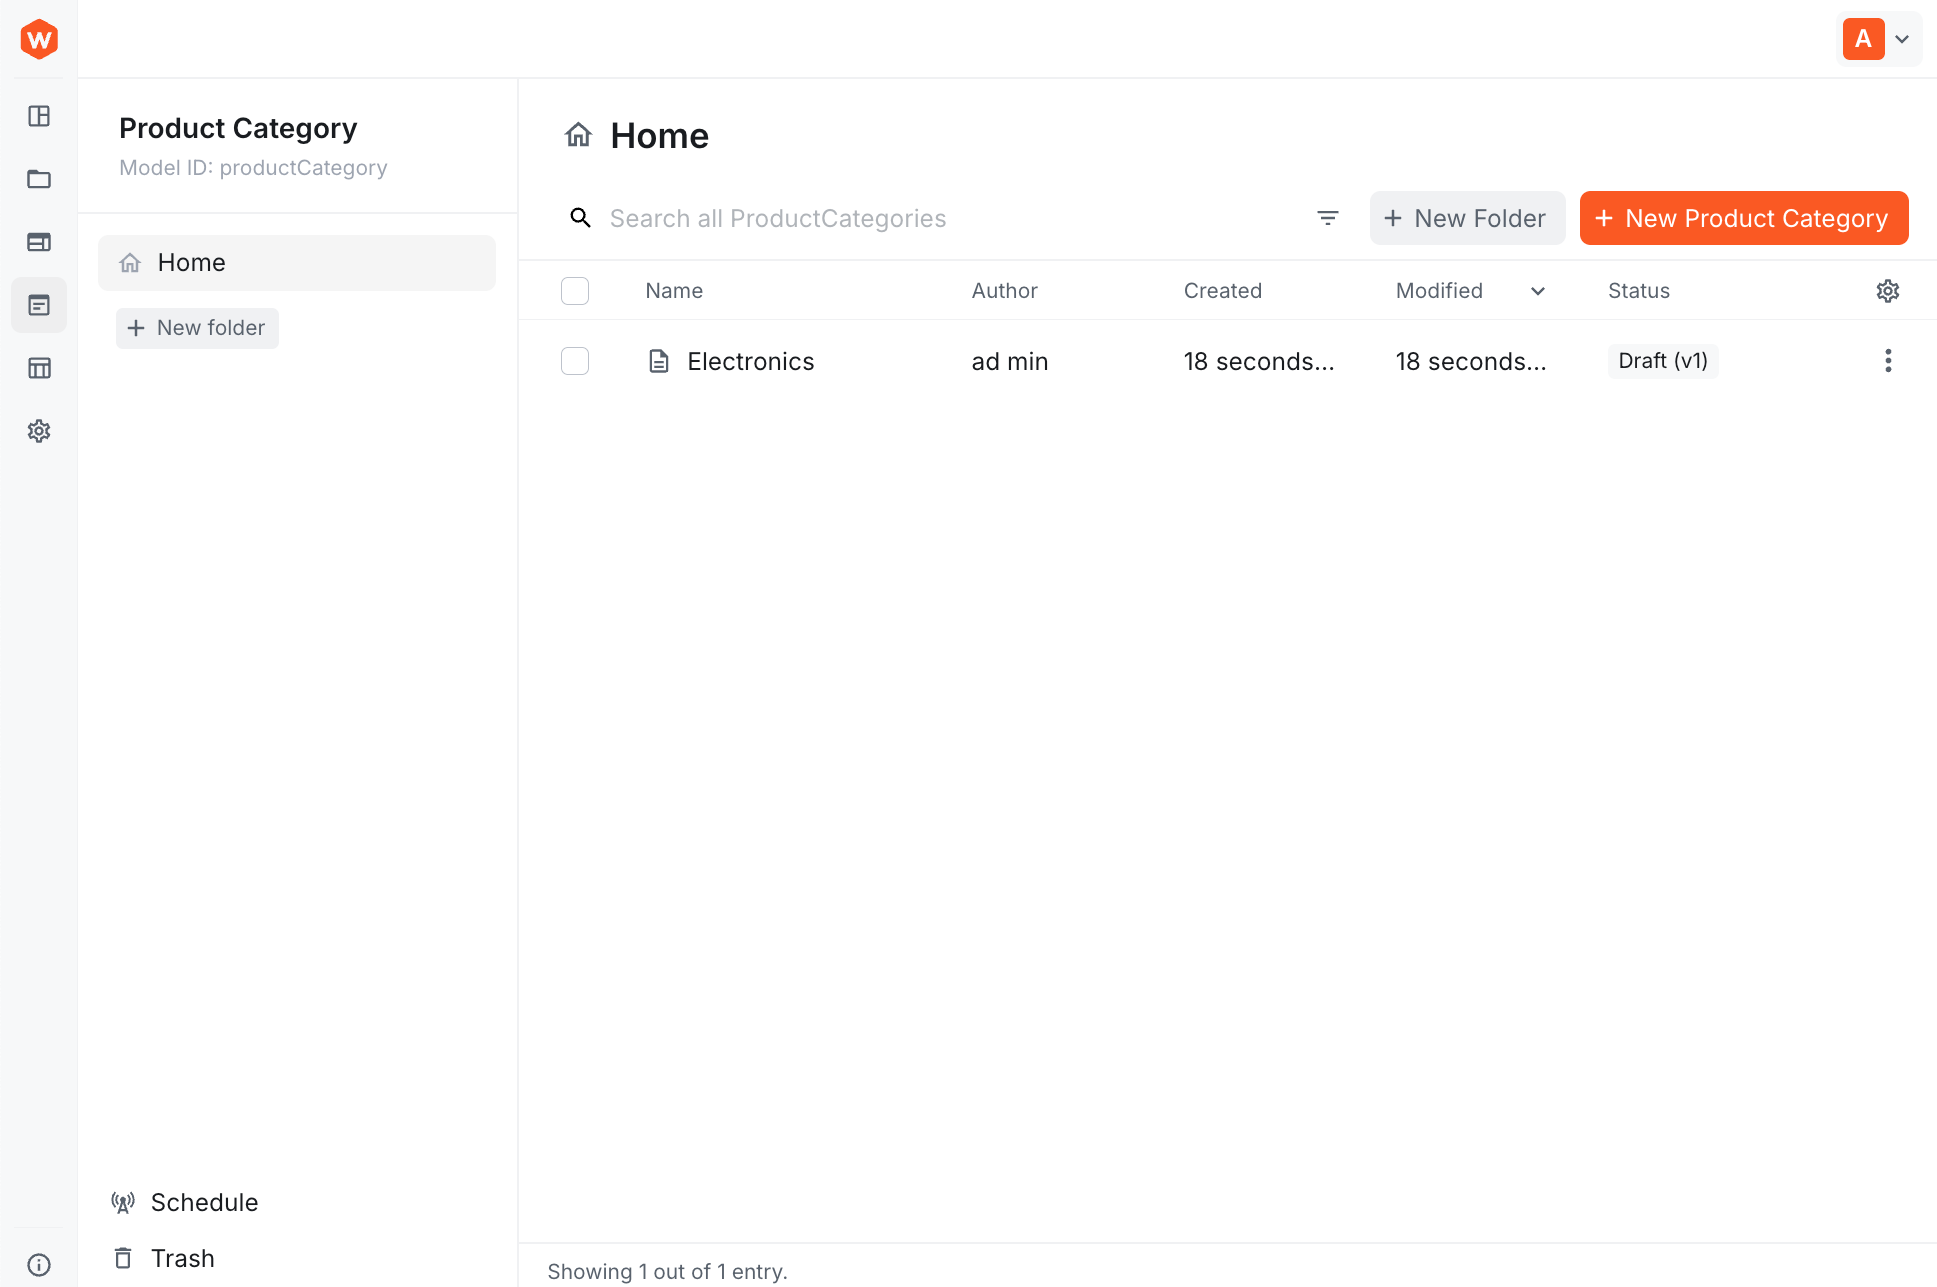
Click Save & Publish to save your category.
Now that we have a Product Category, let's link it to the Product model.
Adding a Reference Field
Now let's link Product Category to the Product model by adding a reference field. We'll do this through the UI since the Product model was created via the UI.
Step 1: Edit the Product Model
- Go to Content Modeling > Models
- Find the Product model
- Click the edit icon
Step 2: Add Category Reference Field
- Drag the Reference field onto the canvas
- Configure in the General tab:
- Label: Category
- Field ID: category
- Content Models: Select "Product Category"
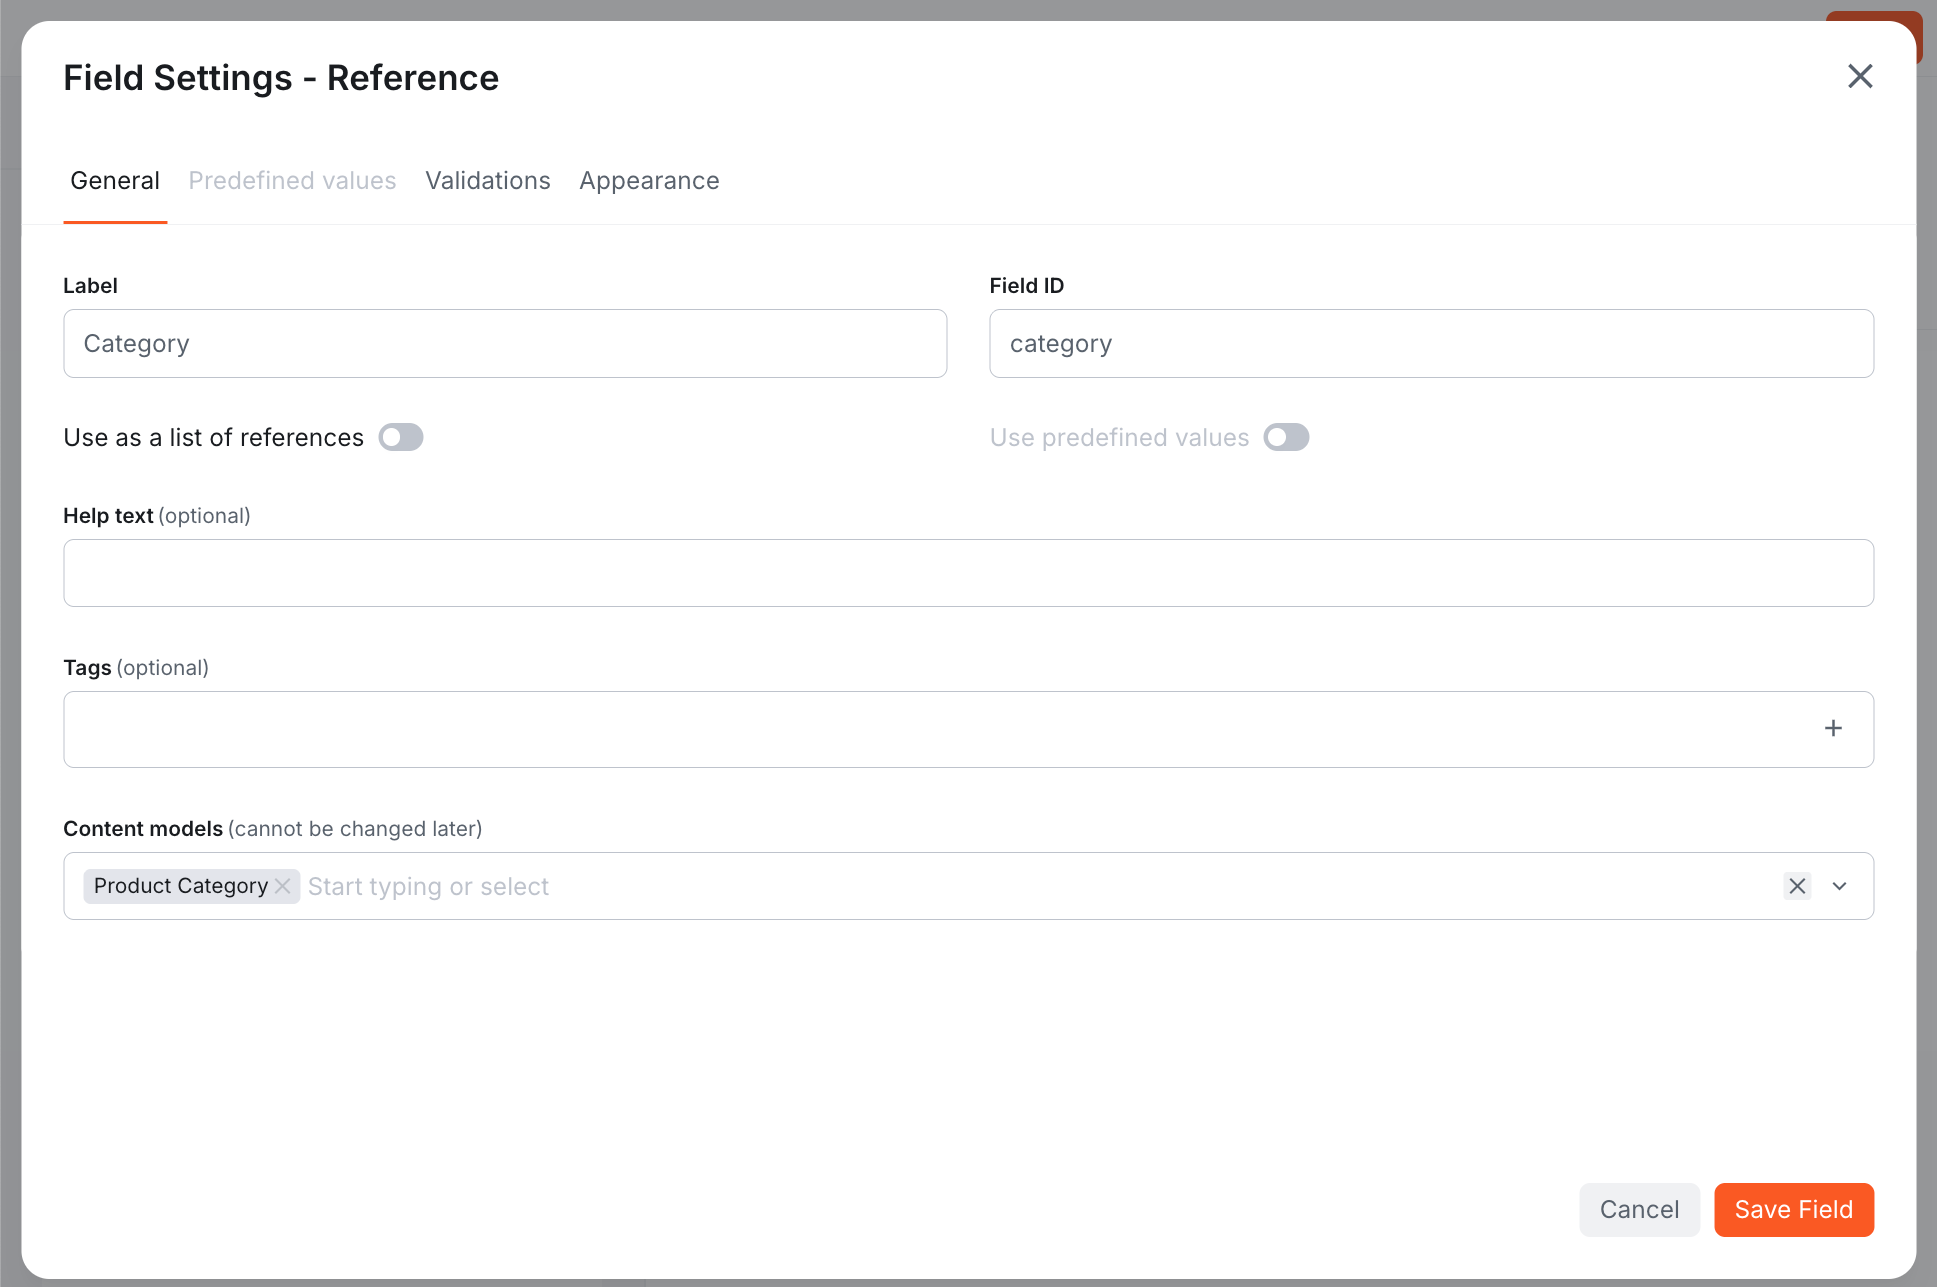
- In the Validations tab:
- Required: Enabled (optional - depends on your needs)
- Click Save Field
- Click Save to save the model changes
You've just created a relationship between Product and Product Category. Now when creating or editing products, you can select a category from a dropdown.
Testing the Relationship
Let's test the product-category relationship:
- Navigate to Content > Ungrouped > Product
- Edit your "Wireless Headphones" product (or create a new one)
- You'll now see a Category field with a reference to the Electronics category
- You can select an existing category or create a new one using the buttons below the field
- Click Save & Publish
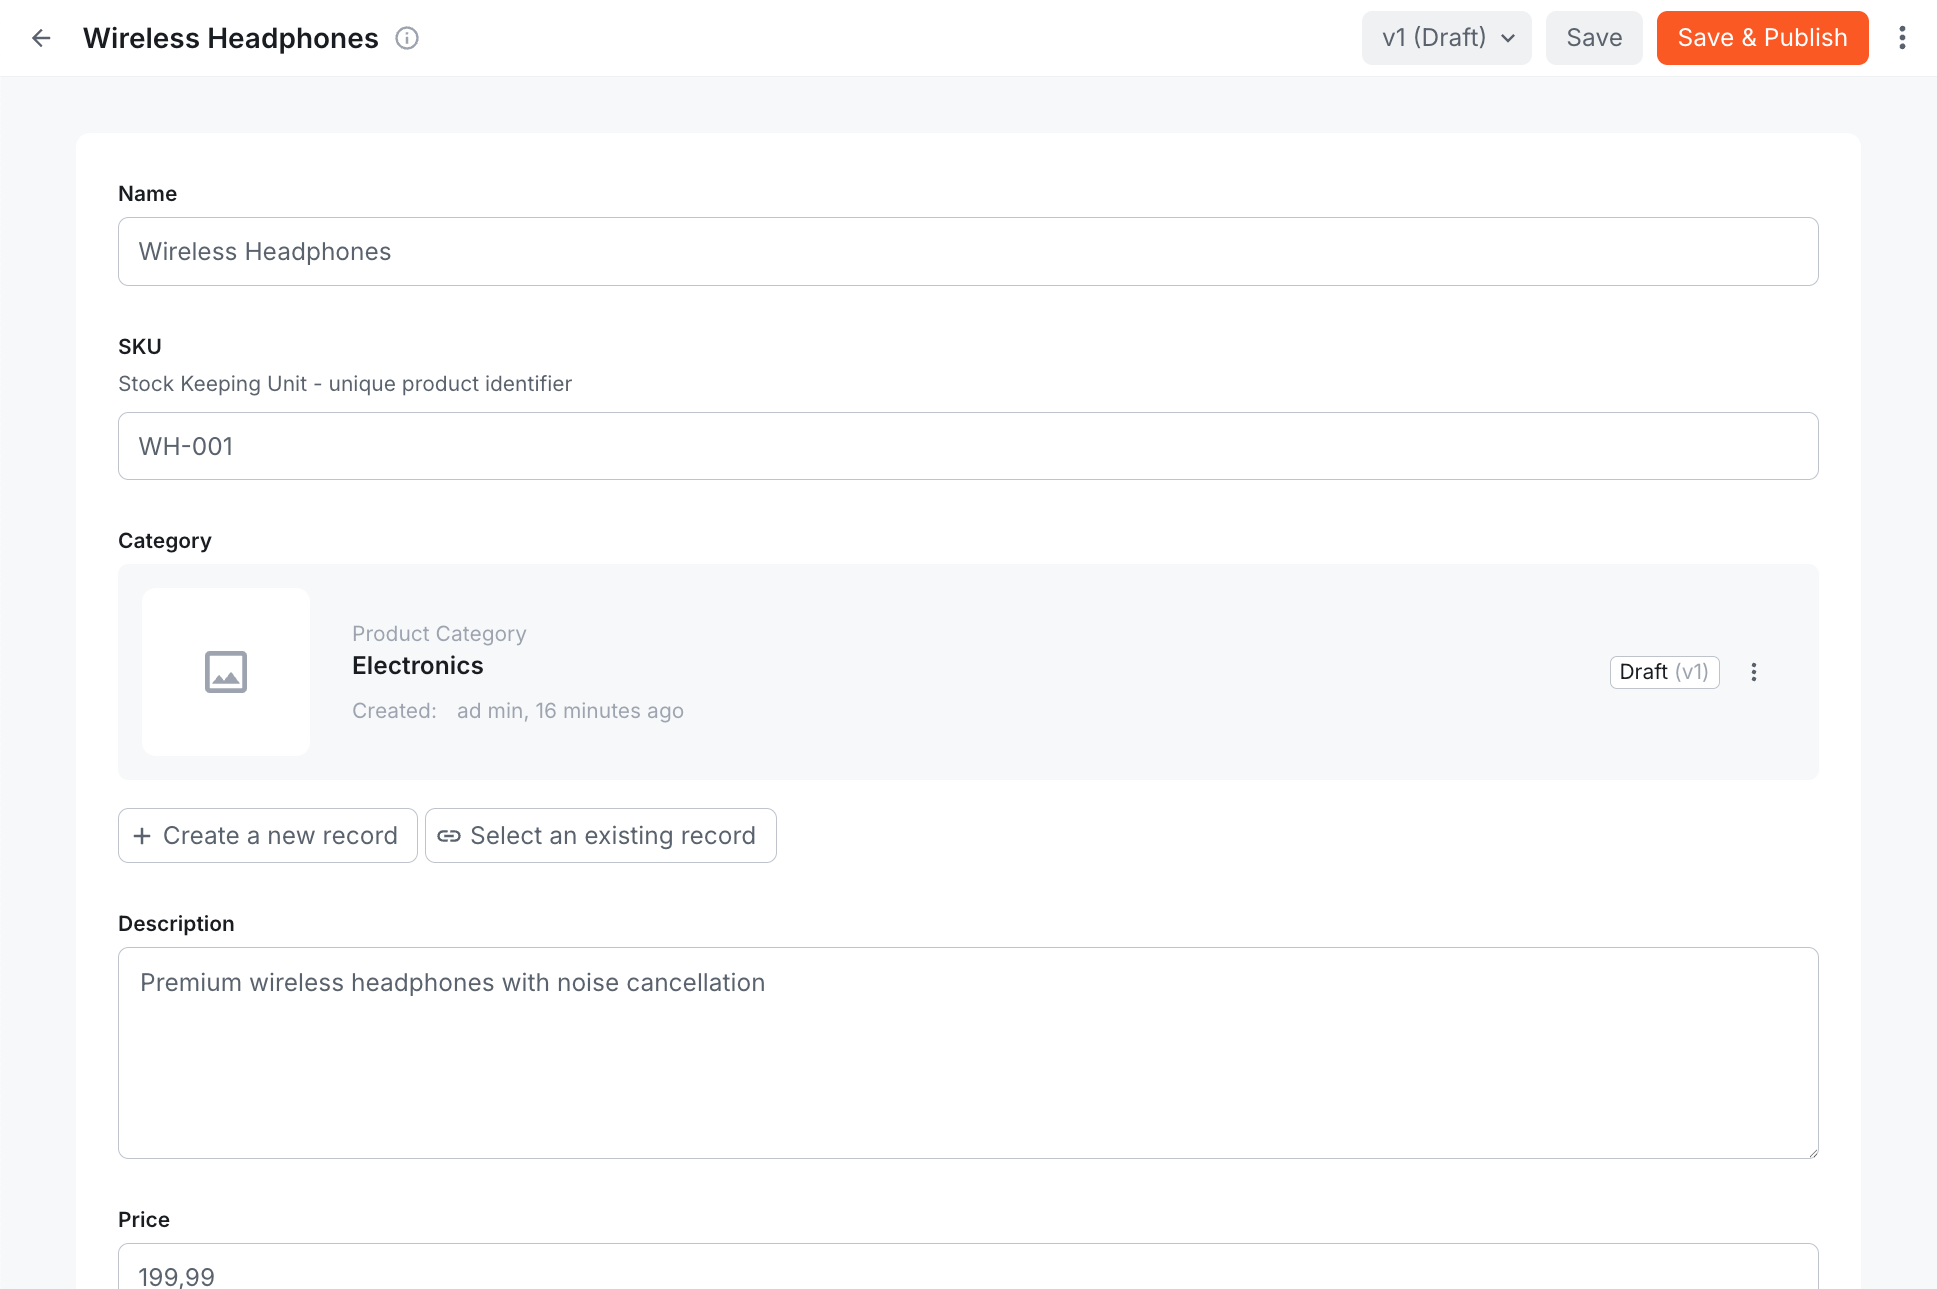
The product is now linked to the Electronics category!
Understanding Reference Fields
Reference fields allow you to link content entries together. A reference field can be configured to link to:
- A single entry - The default behavior (like Product → Category)
- Multiple entries - Enable "Use as a list of references" in the field settings
When you query a product via the GraphQL API, you can choose to:
- Get just the category ID
- Get the full category object with all its fields (resolved reference)
We'll explore this in detail in the upcoming lessons on querying data.
Best Practice: Consistency in Model Creation
In this lesson, we created the Product Category model via code and added the reference field to the Product model via the UI. While this works, it's generally better to be consistent:
- All models via code - Recommended for production projects, better version control
- All models via UI - Fine for prototyping and smaller projects
Mixing approaches can make it harder to track where models are defined and maintain your project over time.
Creating Product Model via Code
Here's how you would define the Product model programmatically to match what we created in the UI:
Key points:
fields.ref()- Creates a reference field.renderer("ref-advanced-single")- Specifies the UI renderer for reference fields.models([{ modelId: "productCategory" }])- Specifies which model(s) this field can reference- To allow multiple references, add
.list()after.ref()and use"ref-advanced-multiple"renderer - The reference field appears in the layout alongside other fields
Then register it in webiny.config.tsx:
If you choose to define the Product model via code, you must delete the existing Product model from the UI (via Content Modeling > Models) before deploying. Having both will cause conflicts. After deleting it from the UI, deploy your code-based model.
It's time to take a quiz!
Test your knowledge and see what you've just learned.
What's a key advantage of creating content models via code instead of the UI?
Summary
Creating content models via code is powerful for production workflows:
- CmsModelPlugin - Create models programmatically
- Version control - Track model changes in Git
- Reference fields - Link models together for relationships
- Flexible approach - Mix UI and code creation as needed
- Deployment required - Changes take effect after deploying the API
You've successfully created a Product Category model via code and linked it to the Product model. In the next lesson, we'll explore the different Headless CMS APIs and understand when to use each one.